- Category
- What's New?
- FightSticks/Pads
- Joysticks
- Pushbuttons
- Spare Parts & Tools
- Hardware & PCB
- Electrical
- Customize
- Merchandise
- Sales & Clearance
- Brand


Artwork Print and Cut for Hori Fighting Edge (PS3/XBox360 Model)
Price:
$15.95 (USD)
Brand
SKU
CUSTOM-HORIEDGE-ART-TOP
Weight
3.00 Ounces
Availability
Please allow up to 7-10 business days to process custom orders. Order will appear in Custom Job Tracker.
Shipping
Calculated at checkout
-
Product Description
Please Read Before You Order
Below is important information to know before placing a custom order with us:
- Project L Official Artwork: Do not submit the PNG samples. Instead, please download the zipped Photoshop PSD version, unzip the file and integrate them into our artwork templates
 for your desired fightstick model
 - Hori Official Street Fighter 6 Artwork: Please do not submit this artwork for the Fightstick Alpha. It is not compatible with our print and cut, as it contains registration marks that cannot be removed. If you wish to have the artwork printed only, you can use our Non-Commercial Fightstick Panel Artwork Print service.
- Hori Official Tekken 8 Artwork. We can print and cut most of Hori's official Tekken 8 artwork, as they revised the artwork files to allow removing the registration marks. Exception is artwork for Jun Kazama which has registration marks that cannot be removed.
- Custom Orders do Not Ship Separately: If you place an order for a personalized product along with non-custom products, such as arcade part or merchandise, please note that all items will ship together.
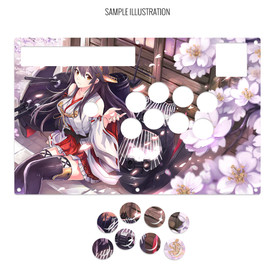
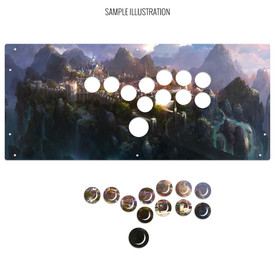
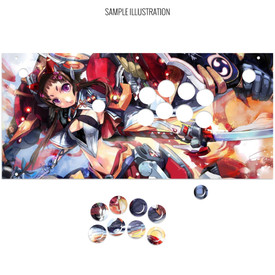
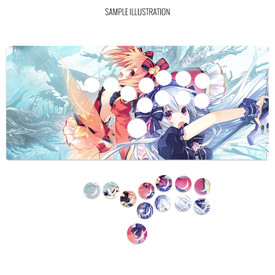
Control panel artwork represents one of the most convenient means to personalize your fightstick, giving it a new look almost immediately.
High Resolution, Color Fidelity
Artwork prints are developed using a top-of-the-line commercial printer, offering vivid, professional-quality artwork replication. The printer is capable of resolution of 1200dpi (dots per inch), and 8 color ink system (Cyan, Magenta, Yellow, K(Black) + Light Cyan, Light Magenta and White) reproduces artwork over a wide color range.
Artwork is printed on 10 mil cardstock sheet. It carries 95% brightness and tensile strength of 100 pounds per inch.
Each print is laser cut to your specifications, as presented by available options. You will receive the print with insert cutouts designed to fit your chosen brand. Gently press downward to remove the cutouts.
Important Notes about Color Fidelity, Brightness
- Please do not change the RGB color space of our templates to CYMK when submitting your artwork. Our templates are intentionally designed in the RGB color space to best match most customer's screen expectations. We will not reprint artwork whose template is changed to CYMK color space.
- Unless properly calibrated to your printer and viewing environment, your monitor does not accurately represent the brightness of paper. Artwork submissions may need adjustment to ensure prints are not too dark. Please read this helpful support article for more information
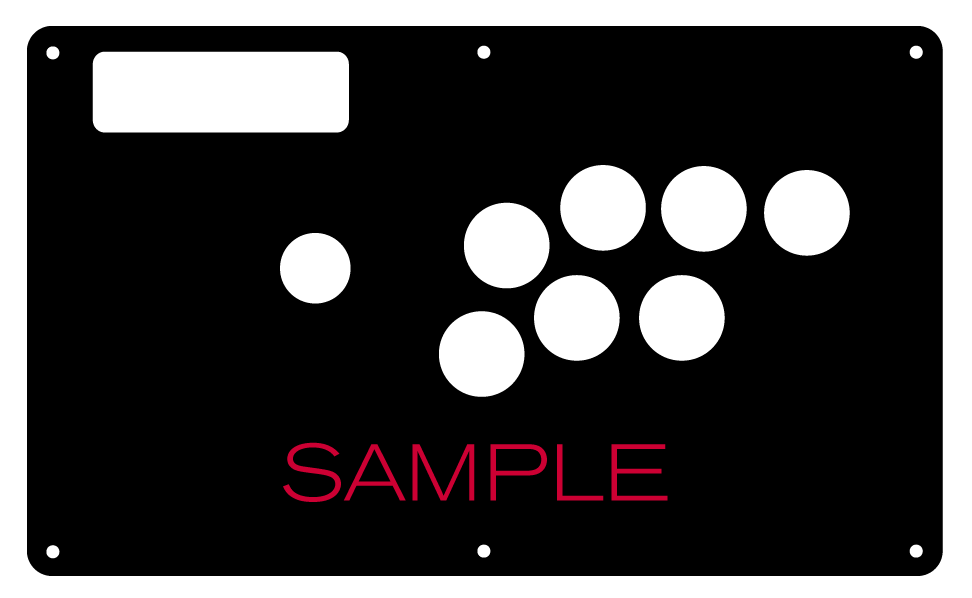
Sized for Hori Fighting Edge for PS3 and Xbox 360. Install Notes
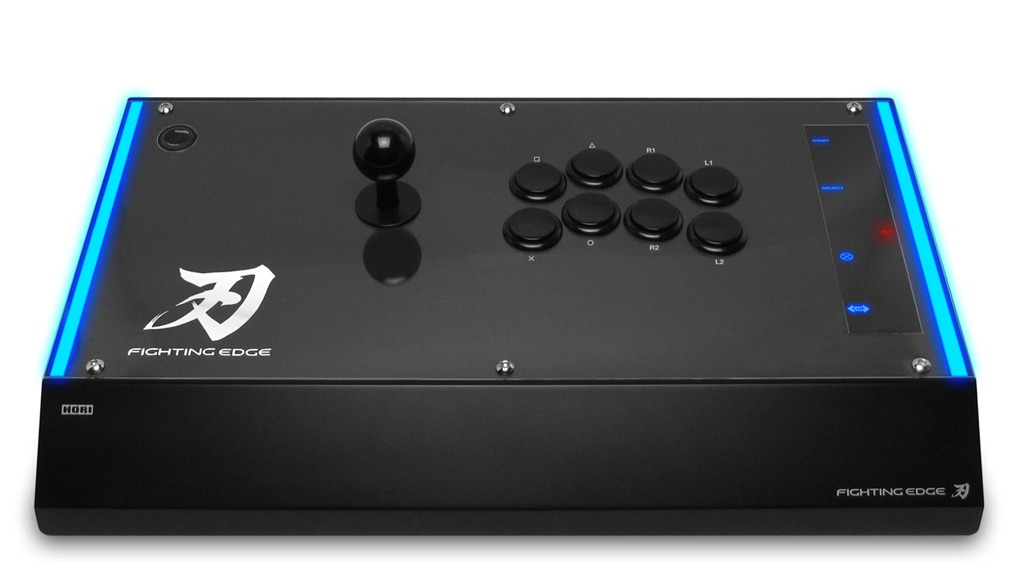
Fighting Edge Panel Template (Not 2017 PS4 Model, 1.7Mb zip) The Hori Fighting Edge is one of the company's largest Fightsticks save for the enormous arcade authentic Hori VLX series. The control panel itself is quite large - over 17 inches wide. Some important notes while installing and replacing your pushbuttons:


The original panel is secured by six hex screws. Use a 4mm hex key to remove them (note: a 2.5mm or MadCatz 3mm hex key is too small). Unlike many Hori Fightsticks, the Edge uniquely has a paper artwork. Unless you need a replacement plexi or desire etching, you can reuse your existing plexi. The same goes for the existing screws. Unscrew the six bottom panel with a philips screwdriver. Make note of the original order of wiring and colors, including one ground for each command button:
- LP = Blue
- MP = Yellow
- HP = Purple
- PPP = White
- LK = Red
- MK = Green
- HK = Orange
- KKK = Grey

Worth noting as questions about the template may come up. In the template, you will notice that the top and bottom screw holes are larger than others on the control panel. This is to accomodate the black spacer that appears in these two positions, and aren't elsewhere on the control panel. Doing this prevents the artwork from potentially pinching in the screw hole.
Also worth mentioning is the PS3/XB360 control panel at top left. The Edge's circular panel is not easily removed as the panel is integrated into the Fightstick mold. That is why we don't currently offer its removal. That said if enough feedback warrants it, that option will be included.
Options You have several options to personalize your control panel, such as button layout, removal of control panel or screws in some models, button label etching, and text etching.
REMOVING DEFAULT ELEMENTS | CUT BUTTON INSERTS
Layout Configuration
Each Fightstick has its own characteristics, with some sharing similar elements, such as the popular Vewlix button layout. We will specify what options are available for each Fightstick. Below are the most common button layout configurations:
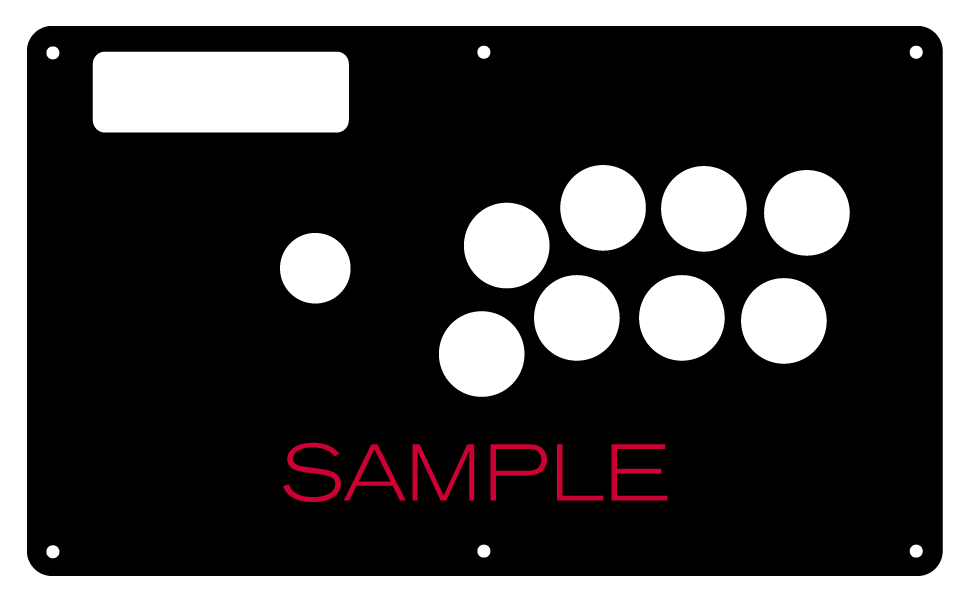
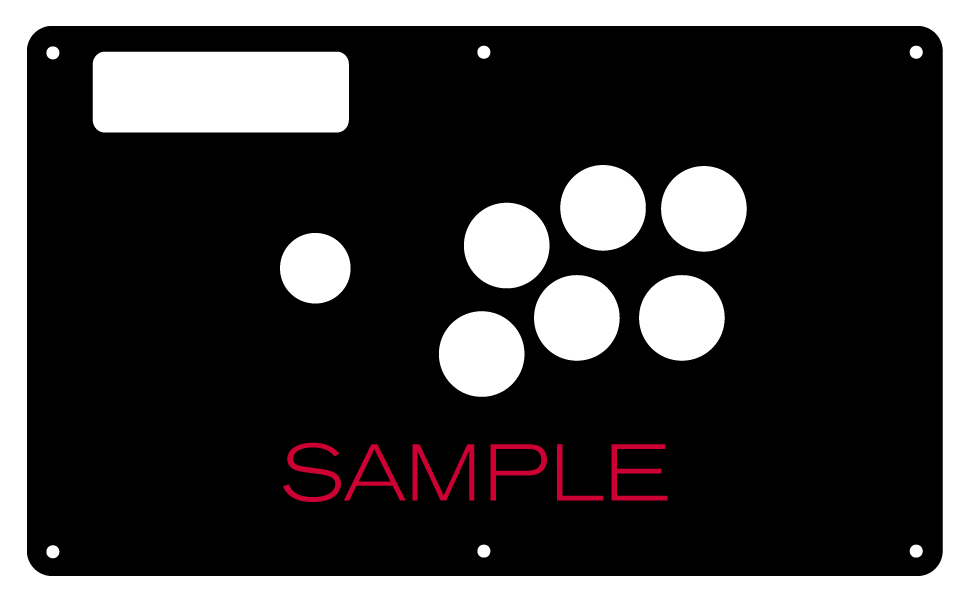
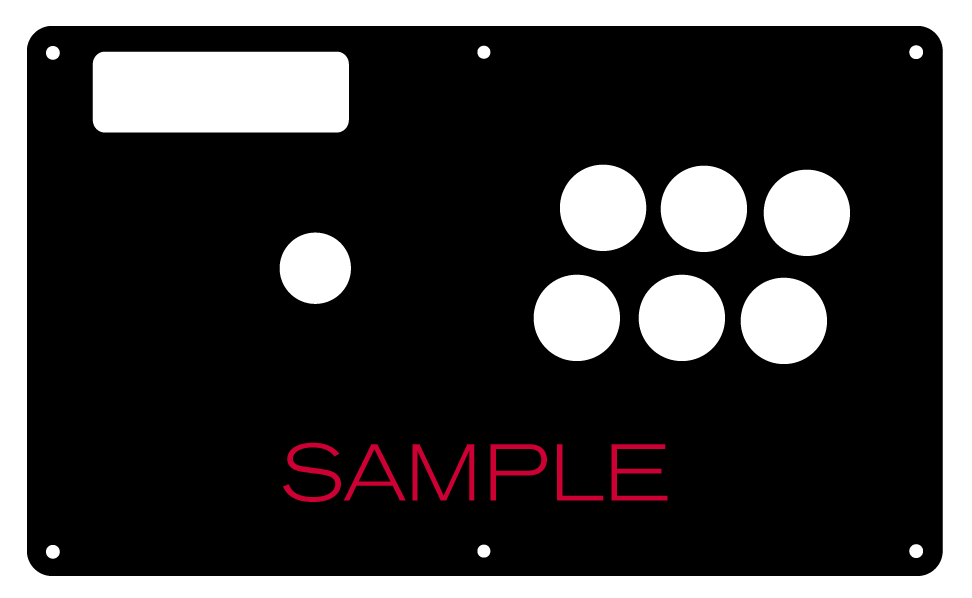
 8 Button VewlixFirst 6 ButtonsLast 6 Buttons7 Button Vewlix
Removing Default Elements
Some Fightsticks, such as the popular MadCatz TE, offer additional personalization options by removing default elements such as control panel, start button, or screws. Cut options are defaulted to their authentic counterpart, displayed as [YES (default)] in the options list. For example, a MadCatz TE, the default configuration is to have the turbo/guide portion of the control panel cut, so that the control panel can fit properly. You have the option to select [NO] to prevent cutting these areas.
![Cut Control Panel? [NO]](http://support.focusattack.com/attachments/token/ioB7e1jzIXfxKdM8KJPKKzvKD/?name=sample-8button-noturbo.png)
![Cut Start Buttons [NO]](http://support.focusattack.com/attachments/token/SWbsx5sVHYupnBQ5iuZH1S2HK/?name=sample-nostart.png)
![Cut Middle and/or Bottom Screws? [NO]](http://support.focusattack.com/attachments/token/QzFj5pc5cNNHkOKrzlEMcc0I4/?name=sample-8button-nomiddlescrew.png) Cut Control Panel? [NO]Cut Start Button? [NO]Cut Middle and/or Bottom Screws? [NO]
Cut Control Panel? [NO]Cut Start Button? [NO]Cut Middle and/or Bottom Screws? [NO]
Cut Control Panel? [NO] - If you own a MadCatz TE, and installed a PS360+, you may no longer need the Turbo/Guide area of the control panel, located at top left. This option allows you to remove the Turbo/Guide portion. Please note that you MUST remove the actual control panel on the TE by unscrewing it before applying the plexi, or you risk damaging the plexi. Also, please make certain to select this option if you are also choosing to have artwork printed, or the plexi and artwork won't match.
Cut Start Button? [NO] - On some joysticks - such as the Qanba Q4 - the start button is directly on the panel. You can select to have this removed. You can also select this should you desire a panel similar to the Eightarc Fusion or Synthesis series Fightstick, as the start button is moved elsewhere. Again, this option is available on specific joysticks.
Cut Middle and/or Bottom Screws? [NO] - Selecting "no" on this option allows you to remove the middle top and bottom screw holes on specific joysticks, either for a cleaner appearance or to avoid rubbing your wrist against the screw. Please reconsider this option if you intend to have a full panel etch on your plexi, as etching physically changes portions of the plexi due to heat. In this case, it is best to leave the screw holes in place in order to keep the panel securely positioned.
Cut Button Inserts

Pushbutton manufacturers such as Sanwa, Seimitsu, Crown and GamerFinger have each produced specific models with a clear or translucent plastic cap and flat plunger. These are often used to display a graphical insert, allowing you to enhance the button's appearance. That said, each button manufacturer has designed the artwork cap with a different diameter than their competitors. For example, GamerFinger's artwork cap has a diameter that is slightly larger than Seimitsu or Sanwa. An insert cut for a Sanwa artwork cap will fit loosely when inserted into the GamerFinger artwork cap. This is an undesirable result that can produce a white or colored ring around the insert.
Now, you can choose the button insert cut to match the pushbutton you intend to use. This allows the insert to fit snugly within the cap.
Brands and Model with Artwork Caps
- Sanwa - OBSC (30mm) | OBSC (24mm)
- Seimitsu - PS-14-GN-C (30mm) | PS-14-DN-C (24mm) | PS-14-K (30mm) | PS-14-KN (30mm) | PS-14-DN-K (24mm)
- Crown - SDB-201-C, SDB-202 MX (30mm) | SDB-202-MX (24mm)
- GamerFinger - HBFS30 (30mm) | HBFS24 (24mm)
In some instances, a button brand or model does not have a 24mm equivalent with art cap. In this case, we will cut to the default size of Sanwa 24mm insert.Please note that if you later intend to purchase a different button, you may need to get new button inserts or new artwork. If you are uncertain which button you may choose, Sanwa is chosen by default.
24 vs 30mm
When processing orders, a frequent mistake we found among new players is choosing the wrong size for action buttons, such as punch and kick.
Within the fighting game genre, Japanese arcade buttons commonly consist of two diameter sizes: 24 millimeter and 30 milllimeter (mm). In most configurations, 30mm represents your action button. These are front facing, appearing most prominent on your Fightstick control panel. Option button, such as "Start", "Select", or more recently "Option", "Touch", or "Share" are usually 24mm.
UPDATE: Owners of Neo Geo AES Joysticks will need 24mm pushbuttons instead of 30mm (Thanks SRK's DEZALB)
Below is a visual representation of a common Fightstick control panel. Throughout this article, we will mark 24mm in green, and 30mm in Orange.

Checking the Proper Size
 Another way that players can misinterpret the pushbutton size is by measuring the pushbutton plunger. Have a look at the diagram at right.
The plunger - the part that you press down to represent an input - is 25mm or a bit smaller in most 30mm pushbuttons. Often this leads to the conclusion that one needs a 24mm button and not 30mm.
Similarly measuring the button rim can lead to confusion, as it is intentionally larger than the button hole it is placed in. You don't want to use these measurements. Instead, review the button housing diameter, or the hole the button will be placed in. You can do this with a caliper - a digital caliper is often quite helpful for this and other arcade-related projects.
Control Panel Configuration
Most Fightsticks from MadCatz, Hori, Qanba, and similar will use these two sizes. How the buttons are used will depend on the model joystick that you own. Over time, we'll provide example configurations for specific popular Fightstick models and arcade cabinets using the color key for 24mm (green) and 30mm (orange). We'll also expand the key for future models if another size is introduced, and we offer for sale.


Image Edit If you would like to use a free, online Photoshop-like app to check out whether your artwork will work with a layout we offer, I highly recommend Photopea
This amazing app works with our PSD templates and is a great way to preview your artwork or create new art files. It also exports to PSD, which is the format we recommend for submitting artwork.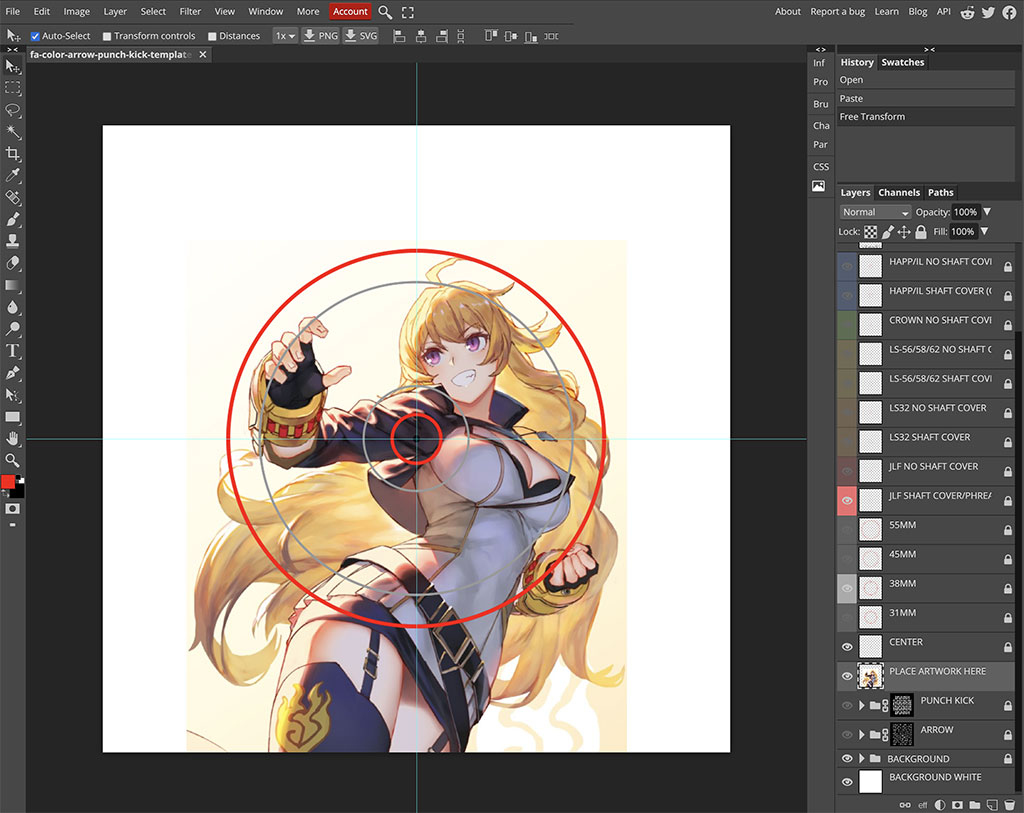
Support New to FA Plexworks?
Click the "Options" tab for a detailed explanation of each customization option available to you. Using a mobile device? Click here to scroll to the descriptions.
Artwork templates
We offer a photoshop template for each custom artwork or custom plexi etch. Click the "Description" tab (or scroll up if on mobile device) to display the template and download. You can also click here to access our repository and download artwork and etch templates (in Photoshop PSD format) for your desired model and others.
Important: Using templates outside of the ones we provide may produce unwanted output. We are not responsible for output generated from unsupported templates. More information here.
Warranty and Support for FA Plexworks Custom Order
Custom orders cannot be returned for refund, or exchanged for another custom order. Orders damaged upon arrival are subject to special terms within our return policy. Please see our FA Plexworks FAQ for more information about our Plexworks return policy and related Q&A.
If you have not used our Plexworks custom services before, we recommend that you visit our support section for updated information, helpful tips, and resources to get the best output.
Some useful sections to review before making your purchase (will open in new browser window or tab):
- Learn about our Custom Job Tracker to keep tabs on your custom order while staff processes it from start to finish.
- Save time getting answers by visiting our FAQ.
- Learn more about the personalization options available to you.
- Hire a skilled artist from the Fightstick Artists Network to visualize your idea.
- Handling the artwork yourself? Review our requirements and get tips to optimize your laser etch or artwork submission.
- Learn about additional products and services we offer under FA Plexworks.
- Project L Official Artwork: Do not submit the PNG samples. Instead, please download the zipped Photoshop PSD version, unzip the file and integrate them into our artwork templates
-
Product Reviews
-
Product Videos
-
 FA Plexworks Custom Fightstick Artwork ServicesThis video explains the many options available to you when cho...
FA Plexworks Custom Fightstick Artwork Services
This video explains the many options available to you when choosing custom FA Plexworks services at focusattack.com. We also cover important tips and references for properly uploading artwork when placing an order. Visit https://www.focusattack.com/customize/ to place an order for custom Fightstick artwork, a replacement acrylic top, or even laser etched design on acrylic. For additional information about FA Plexworks, download templates, and additional tips on how to submit artwork, visit our support portal http://bit.ly/fa-plexworks-support Big thanks to Naota for his pro-tier production! ** Artwork pictures are sample illustrations. All printed artwork is submitted by the user, and not sold directly on the website. -
-
Find Similar Products by Category