- Category
- What's New?
- FightSticks/Pads
- Joysticks
- Pushbuttons
- Spare Parts & Tools
- Hardware & PCB
- Electrical
- Customize
- Merchandise
- Sales & Clearance
- Brand


Blank Plexi Cover for Hori 2017 Fighting Edge (PS4 Model)
Rating
Price:
$17.95 (USD)
Brand
SKU
BLANK-EDGE-PS4-PLEXI
Weight
6.50 Ounces
Availability
Please allow up to 7-10 business days to process custom orders. Order will appear in the Custom Job Tracker.
Shipping
Calculated at checkout
-
Product Description
Please Read Before You Order
Below is important information to know before placing a custom order with us:
- Project L Official Artwork: Do not submit the PNG samples. Instead, please download the zipped Photoshop PSD version, unzip the file and integrate them into our artwork templates
 for your desired fightstick model
 - Hori Official Street Fighter 6 Artwork: Please do not submit this artwork for the Fightstick Alpha. It is not compatible with our print and cut, as it contains registration marks that cannot be removed. If you wish to have the artwork printed only, you can use our Non-Commercial Fightstick Panel Artwork Print service.
- Hori Official Tekken 8 Artwork. We can print and cut most of Hori's official Tekken 8 artwork, as they revised the artwork files to allow removing the registration marks. Exception is artwork for Jun Kazama which has registration marks that cannot be removed.
- Custom Orders do Not Ship Separately: If you place an order for a personalized product along with non-custom products, such as arcade part or merchandise, please note that all items will ship together.
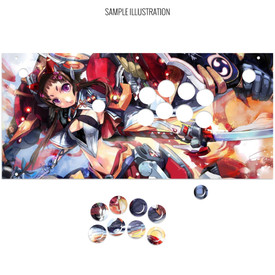
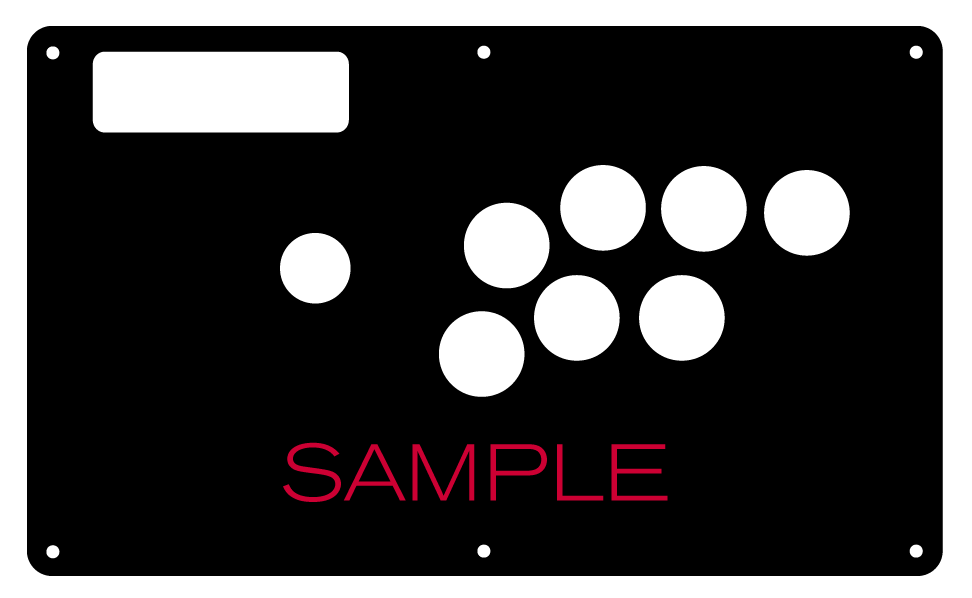
The art cover replacement top panel offers one of the best ways to customize your joystick. The plexiglass sits atop specially cut artwork, allowing you to add or replace new custom artwork to match your joystick theme.
Sized for Hori Fighting Edge (PS4 Only). Install Notes
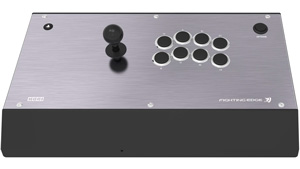
Fighting Edge Panel Template (2017 PS4 Model, 1.7Mb zip) The Hori Fighting Edge is one of the company's largest Fightsticks save for the enormous arcade authentic Hori VLX series. The control panel itself is quite large - over 17 inches wide. Please note this this service is NOT compatible with the older PS3 or Xbox 360 model. Some important notes while installing and replacing your pushbuttons:


First, flip the Hori Edge Fightstick on its back to expose 8 screws you will remove to get inside the control panel. The leftmost two screws will allow you to access the start button, which you must remove to free the metal panel With the bottom panel removed, inspect button wiring and joystick. You will detach the wiring from each button in order to dislodge it from the panel. The joystick shaft's balltop is also detached prior to removing the metal panel. 

Please take note of the wiring color when reattaching the buttons:Make note of the original order of wiring and colors, including one ground for each command button: - Square = Blue
- Triangle = Yellow
- R1 = Red
- L1 = Orange
- X = Grey
- O = Green
- R2 = Black
- L2 = Green
With the smaller screws removed from the leftmost bottom panel, you will expose the Fightstick's start/option button. Note that this button does not rest on an underlying metal panel. This is because the Edge's original metal panel would serve this purpose. The replacement acrylic panel should manage the pressure without cracking, but take care not to jam the button in too hard when replacing it. Detach the white wiring in order to remove the start button from the panel. 

Remove the balltop connected to the joystick shaft by inserting a flathead screwdriver to the bottom of the shaft and turning the balltop counter-clockwise. Now, flip the Fightstick on its top, exposing the original metal panel. Use a 4mm hex key (or 5/32") to unscrew each of the 6 screws at top. 

An important note: under each top panel screw you will find a nut in the Fightstick housing. Please keep these nuts, as you will need them to reattach the plexi panel. They may fall out when the screws are removed. One way to address this for future installs is to apply some superglue to the area where the nut rests, then place the nut back and allow to dry/cure. As you can see, the underlying panel does not extend the full length of the Fightstick. The acrylic should bear some of the pressure from the PS4 Start/Option button, located at the right. It is here that you will install your artwork and replacement plexi, then reverse the steps to reinstall buttons joystick balltop, wiring and bottom panel. Durable Configuration. Laser Cut Layout
The Hori Fighting Edge top panel is constructed using resilient clear acrylic, and layout is cut to precision with a laser etching device. This model uses our .060" thick acrylic.
Options Help You have several options to personalize your control panel, such as button layout, removal of control panel or screws in some models
Jump to: LAYOUT | REMOVING DEFAULT ELEMENTS
Plexi Color, Thickness
Below are visual examples of available acrylic colors and thicknesses. Not all colors are available for each thickness, nor are the materials and thicknesses accessible for each Fightstick model. Some colors come in a specific thickness, and are too thin or thick to install properly on the Fightstick. Additionally, some material thicknesses do not allow for full etch, as the material can warp from the laser.
When multiple colors and thicknesses are available for your Fightstick model, you will find them within the options list.
Plexi Thickness


Plexi Color and Texture


 Clear (.75mm, 1.5mm, 3mm)Black Gloss (1.5mm, 3mm)Black Matte (3mm only)White Gloss (3mm only)White Matte (3mm only)
Notes about Black Matte, White Matte & White Gloss
 Black Matte is available in .125" (3mm) thickness only. This color and material texture can be purchased without etching. For AllFightsticks models, you can use the black matte plexi panel as a full replacement for the metal panel.
 White Gloss and White Matte is available in .125" (3mm) thickness only. For AllFightsticks models, you can use the white matte plexi panel as a full replacement for the metal panel.
White acrylic is also semi translucent - about 80% opacity. You could place a brightly colored artwork underneath for a cool effect.
Layout Configuration
Each Fightstick has its own characteristics, with some sharing similar elements, such as the popular Vewlix button layout. We will specify what options are available for each Fightstick. Below are the most common button layout configurations:
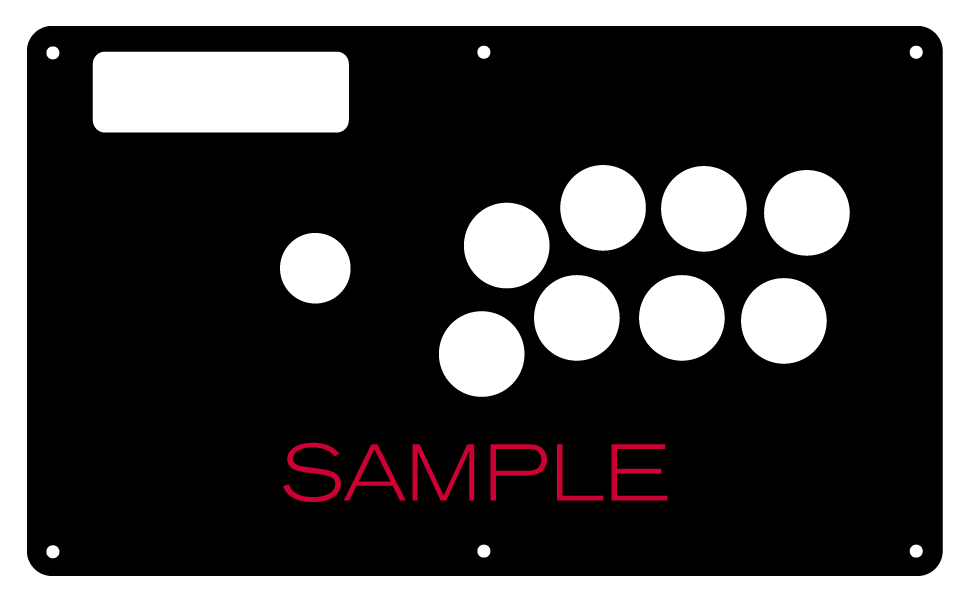
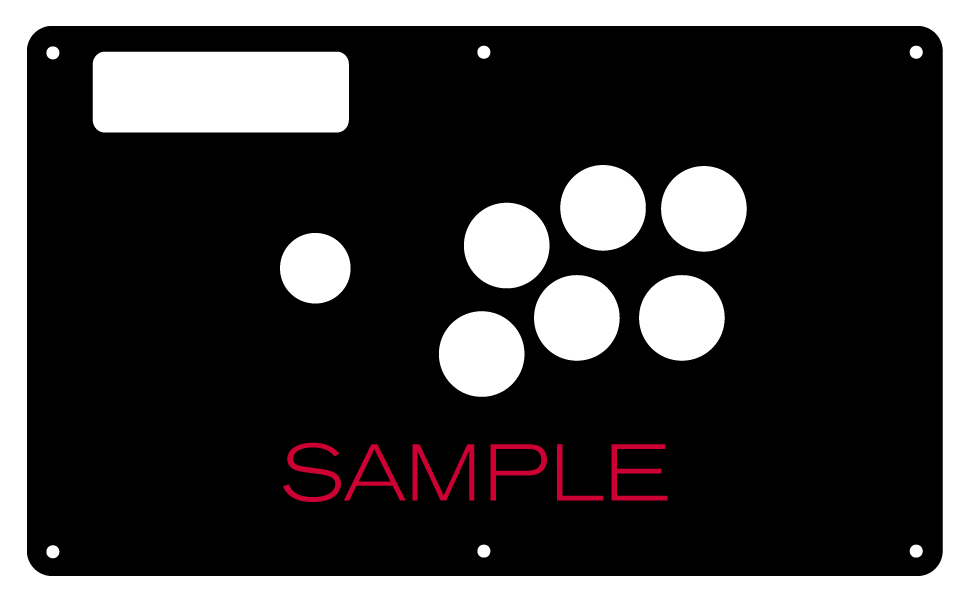
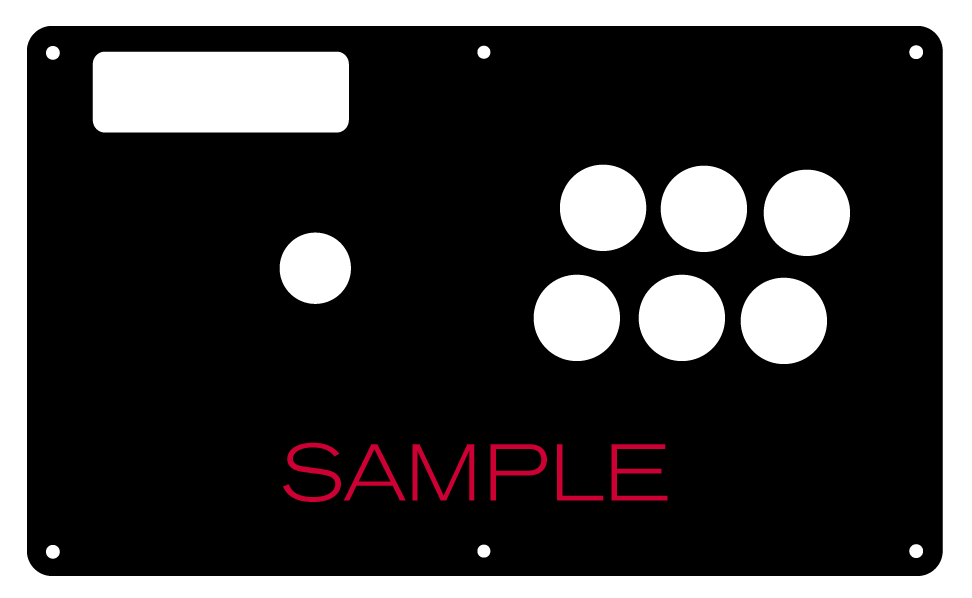
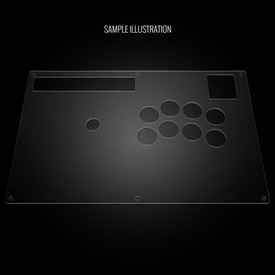
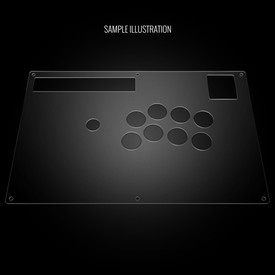
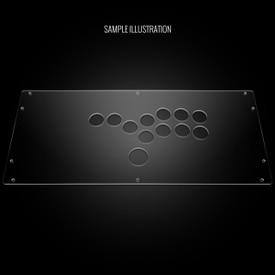
 8 Button VewlixFirst 6 ButtonsLast 6 Buttons7 Button Vewlix
Removing Default Elements
Some Fightsticks, such as the popular MadCatz TE, offer additional personalization options by removing default elements such as control panel, start button, or screws. Cut options are defaulted to their authentic counterpart, displayed as [YES (default)] in the options list. For example, a MadCatz TE, the default configuration is to have the turbo/guide portion of the control panel cut, so that the control panel can fit properly. You have the option to select [NO] to prevent cutting these areas.
![Cut Control Panel? [NO]](http://support.focusattack.com/attachments/token/ioB7e1jzIXfxKdM8KJPKKzvKD/?name=sample-8button-noturbo.png)
![Cut Start Buttons [NO]](http://support.focusattack.com/attachments/token/SWbsx5sVHYupnBQ5iuZH1S2HK/?name=sample-nostart.png)
![Cut Middle and/or Bottom Screws? [NO]](http://support.focusattack.com/attachments/token/QzFj5pc5cNNHkOKrzlEMcc0I4/?name=sample-8button-nomiddlescrew.png) Cut Control Panel? [NO]Cut Start Button? [NO]Cut Middle and/or Bottom Screws? [NO]
Cut Control Panel? [NO]Cut Start Button? [NO]Cut Middle and/or Bottom Screws? [NO]
Cut Control Panel? [NO] - If you own a MadCatz TE, and installed a PS360+, you may no longer need the Turbo/Guide area of the control panel, located at top left. This option allows you to remove the Turbo/Guide portion. Please note that you MUST remove the actual control panel on the TE by unscrewing it before applying the plexi, or you risk damaging the plexi. Also, please make certain to select this option if you are also choosing to have artwork printed, or the plexi and artwork won't match.
Cut Start Button? [NO] - On some joysticks - such as the Qanba Q4 - the start button is directly on the panel. You can select to have this removed. You can also select this should you desire a panel similar to the Eightarc Fusion or Synthesis series Fightstick, as the start button is moved elsewhere. Again, this option is available on specific joysticks.
Cut Middle and/or Bottom Screws? [NO] - Selecting "no" on this option allows you to remove the middle top and bottom screw holes on specific joysticks, either for a cleaner appearance or to avoid rubbing your wrist against the screw. Please reconsider this option if you intend to have a full panel etch on your plexi, as etching physically changes portions of the plexi due to heat. In this case, it is best to leave the screw holes in place in order to keep the panel securely positioned.
Image Edit If you would like to use a free, online Photoshop-like app to check out whether your artwork will work with a layout we offer, I highly recommend Photopea
This amazing app works with our PSD templates and is a great way to preview your artwork or create new art files. It also exports to PSD, which is the format we recommend for submitting artwork.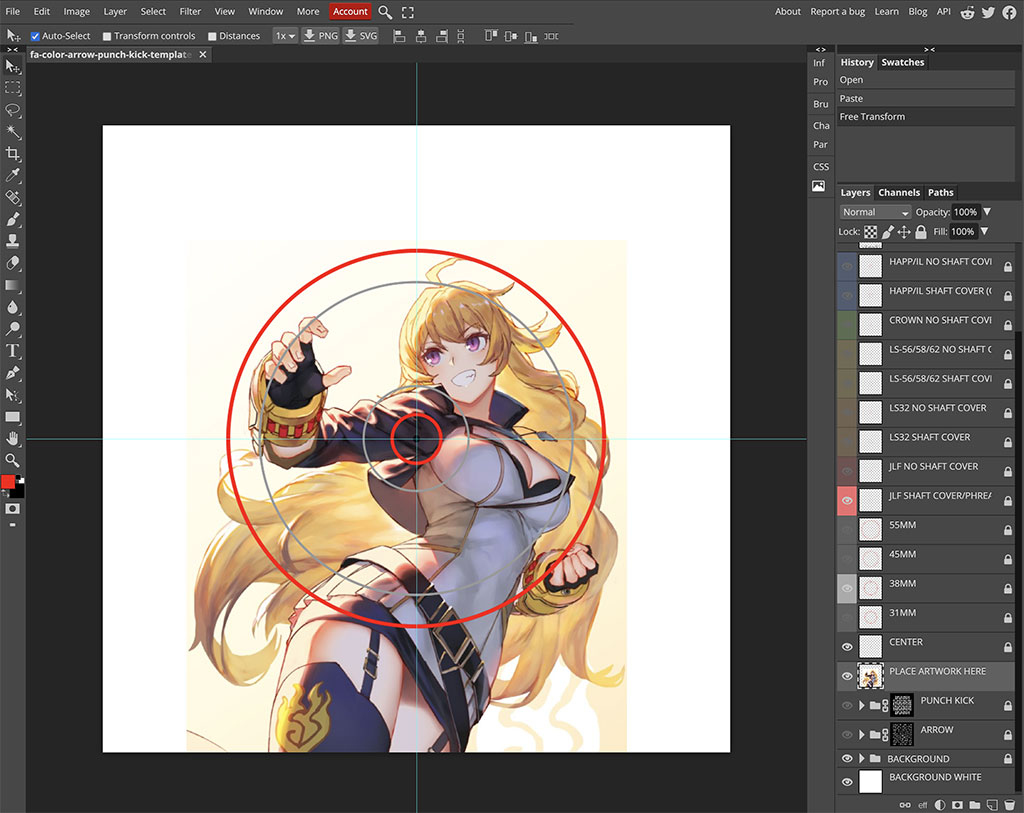
Support New to FA Plexworks?
Click the "Options" tab for a detailed explanation of each customization option available to you. Using a mobile device? Click here to scroll to the descriptions.
Artwork templates
We offer a photoshop template for each custom artwork or custom plexi etch. Click the "Description" tab (or scroll up if on mobile device) to display the template and download. You can also click here to access our repository and download artwork and etch templates (in Photoshop PSD format) for your desired model and others.
Important: Using templates outside of the ones we provide may produce unwanted output. We are not responsible for output generated from unsupported templates. More information here.
Warranty and Support for FA Plexworks Custom Order
Custom orders cannot be returned for refund, or exchanged for another custom order. Orders damaged upon arrival are subject to special terms within our return policy. Please see our FA Plexworks FAQ for more information about our Plexworks return policy and related Q&A.
If you have not used our Plexworks custom services before, we recommend that you visit our support section for updated information, helpful tips, and resources to get the best output.
Some useful sections to review before making your purchase (will open in new browser window or tab):
- Learn about our Custom Job Tracker to keep tabs on your custom order while staff processes it from start to finish.
- Save time getting answers by visiting our FAQ.
- Learn more about the personalization options available to you.
- Hire a skilled artist from the Fightstick Artists Network to visualize your idea.
- Handling the artwork yourself? Review our requirements and get tips to optimize your laser etch or artwork submission.
- Learn about additional products and services we offer under FA Plexworks.
- Project L Official Artwork: Do not submit the PNG samples. Instead, please download the zipped Photoshop PSD version, unzip the file and integrate them into our artwork templates
-
Product Reviews
-
Great replacement for art
The plexiglass is great quality and really showcases the art underneath. Holes are precise and everything is just the right size. Always a pleasure to order these. Mike on Nov 11th 2022
-
Updated Review
I originally had issues with this product. Since then, Management has reached out to me and provided great customer service to resolve my issue. Great company, they take care of their customers. Unknown on Jun 11th 2020
-
Well made product
Needed one to put some art on my fighting edge. It's a fine piece of work; cut just right. I'd buy another one from here if I needed a new one Aaron on Apr 13th 2019
-
Great Plexi Replacement
This did exactly what I wanted it to. It enables me to flip between the metal top plate and placing art under this plexi. Installation was easy and there were no scratches on the plexi which is nice as I have had this happen from other sites when I was working on other projects that required plexiglass Unknown on Jan 30th 2019
-
-
Product Videos
-
 FA Plexworks Custom Fightstick Artwork ServicesThis video explains the many options available to you when cho...
FA Plexworks Custom Fightstick Artwork Services
This video explains the many options available to you when choosing custom FA Plexworks services at focusattack.com. We also cover important tips and references for properly uploading artwork when placing an order. Visit https://www.focusattack.com/customize/ to place an order for custom Fightstick artwork, a replacement acrylic top, or even laser etched design on acrylic. For additional information about FA Plexworks, download templates, and additional tips on how to submit artwork, visit our support portal http://bit.ly/fa-plexworks-support Big thanks to Naota for his pro-tier production! ** Artwork pictures are sample illustrations. All printed artwork is submitted by the user, and not sold directly on the website. -
-
Find Similar Products by Category