- Category
- What's New?
- FightSticks/Pads
- Joysticks
- Pushbuttons
- Spare Parts & Tools
- Hardware & PCB
- Electrical
- Customize
- Merchandise
- Sales & Clearance
- Brand


Blank Plexi Cover for Hori RAP N
Rating
Price:
$16.95 (USD)
Brand
SKU
BLANK-HORI-RAPN-PLEXI-TOP
Weight
6.50 Ounces
Availability
Please allow up to 7-10 business days to process custom orders. Order will appear in the Custom Job Tracker.
Shipping
Calculated at checkout
-
Product Description
Please Read Before You Order
Below is important information to know before placing a custom order with us:
- Project L Official Artwork: Do not submit the PNG samples. Instead, please download the zipped Photoshop PSD version, unzip the file and integrate them into our artwork templates
 for your desired fightstick model
 - Hori Official Street Fighter 6 Artwork: Please do not submit this artwork for the Fightstick Alpha. It is not compatible with our print and cut, as it contains registration marks that cannot be removed. If you wish to have the artwork printed only, you can use our Non-Commercial Fightstick Panel Artwork Print service.
- Hori Official Tekken 8 Artwork. We can print and cut most of Hori's official Tekken 8 artwork, as they revised the artwork files to allow removing the registration marks. Exception is artwork for Jun Kazama which has registration marks that cannot be removed.
- Custom Orders do Not Ship Separately: If you place an order for a personalized product along with non-custom products, such as arcade part or merchandise, please note that all items will ship together.
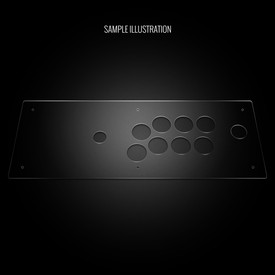
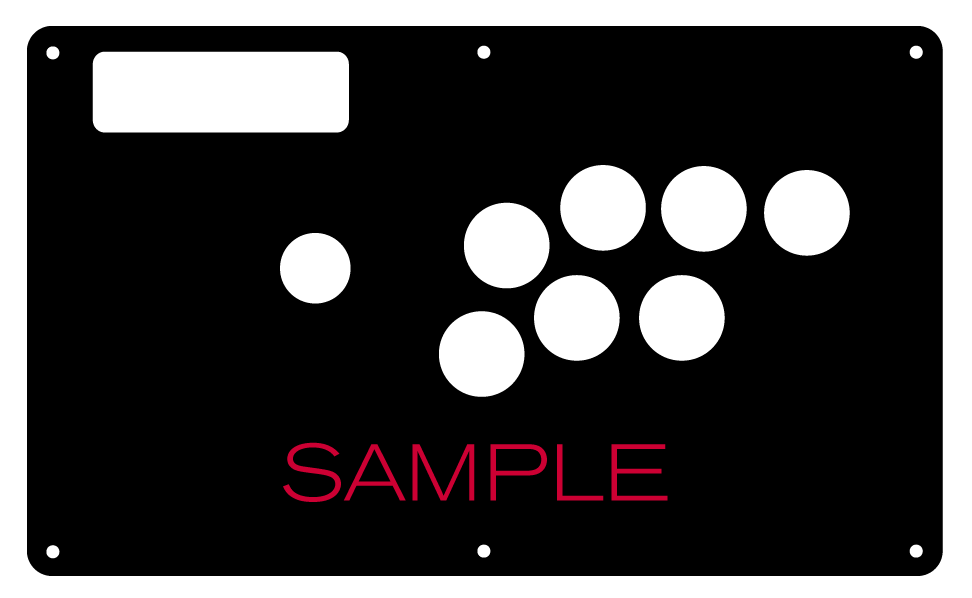
The art cover replacement top panel offers one of the best ways to customize your joystick. The plexiglass sits atop specially cut artwork, allowing you to add or replace new custom artwork to match your joystick theme.
Designed for Hori RAP N Layout
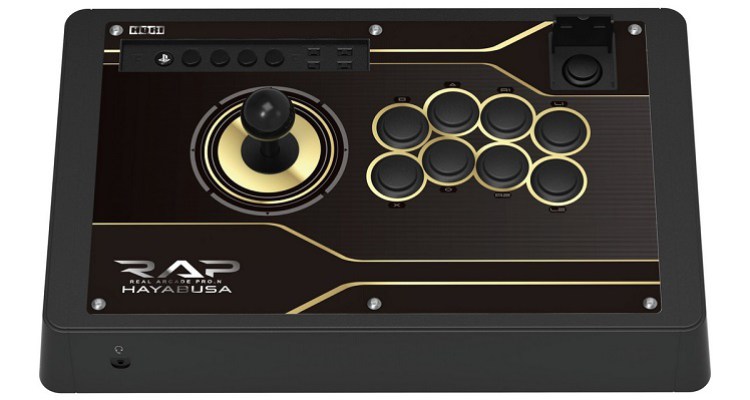
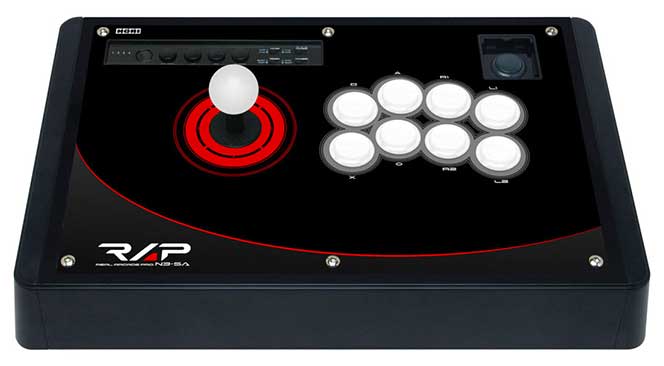
RAP N Panel Template Kai layout, not DOA5 model (1.7Mb zip) Hori's models have varied in joystick and button placement. This model adopts the "Kai" layout, which positions the joystick further left from the buttons. The modern Hori RAP series was not designed for custom artwork, so it requires removing the top artwork panel via hair-dryer or heat gun, the glue underneath the panel (what remains on the metal panel) via Goo-Gone or similar. This model uses our .030" thin acrylic.
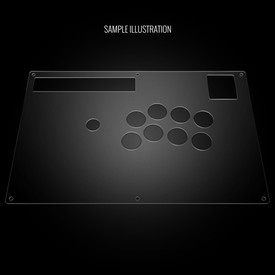
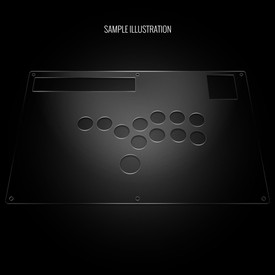
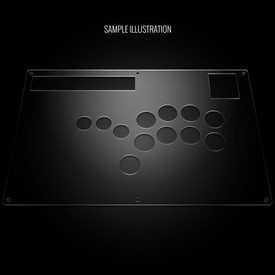
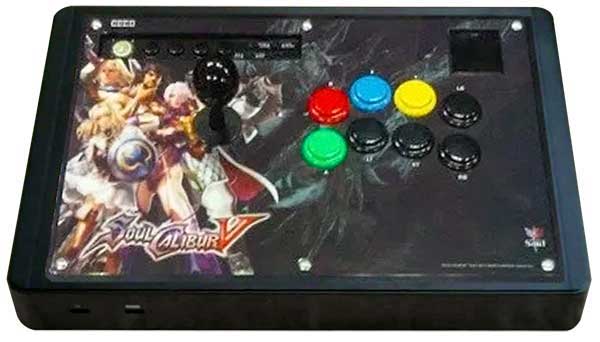
Options include 6 or 8 button Noir layout, removing Control Panel (often requested when using multi-console PCBs), removing the start/option button (hidden under the square lid) and removing bottom middle screw.
Slim, Durable Configuration. Laser Cut Layout
The top panel is constructed using resilient clear acrylic, and layout is cut to precision with a laser etching device.
How to Install


First, remove the panel screws with a 3mm hex key. You will find that the panel pulls away from the housing easily. Take care to remove the 5-pin harness from the joystick. Once the panel is separated from the housing, remove the wires from buttons. Observe the wiring color to buttons, first row from top: Blue = [], Purple = /\, Grey = R1, Red = L1; second row: Orange = X, Yellow = O, Green = R2, Black = L2. Carefully lift the buttons from the panel by pinching in the tabs at left and right of each button and pushing up.
Next you must remove the RAP N artwork panel. The artwork is glued onto the metal panel. To remove it, use a heat-gun or hair dryer, warming one corner of the panel until you are able to lift and separate the plastic from metal. Continue to use the heat gun on the underside of the plastic and slowly lift the plastic panel. You may have some residue from the process, which you can clean using Goo-Gone or similar solution.
You will re-use the screws on the RAP N to complete the installation; please do not throw them away. Place the panel back onto the plastic frame, then artwork, and finally plexi. You can then reinstall buttons and wiring, then joystick. Finally, replace screws and tighten using hex key.
Options Help You have several options to personalize your control panel, such as button layout, removal of control panel or screws in some models
Jump to: LAYOUT | REMOVING DEFAULT ELEMENTS
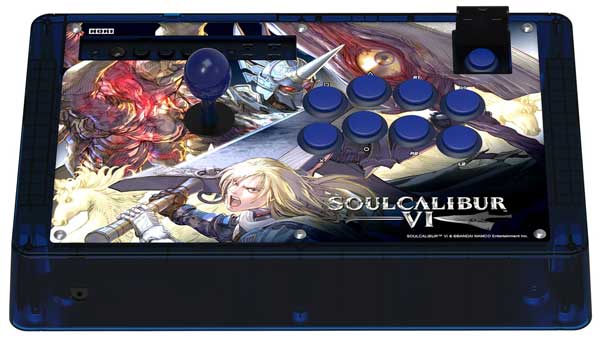
Plexi Color, Thickness
Below are visual examples of available acrylic colors and thicknesses. Not all colors are available for each thickness, nor are the materials and thicknesses accessible for each Fightstick model. Some colors come in a specific thickness, and are too thin or thick to install properly on the Fightstick. Additionally, some material thicknesses do not allow for full etch, as the material can warp from the laser.
When multiple colors and thicknesses are available for your Fightstick model, you will find them within the options list.
Plexi Thickness


Plexi Color and Texture


 Clear (.75mm, 1.5mm, 3mm)Black Gloss (1.5mm, 3mm)Black Matte (3mm only)White Gloss (3mm only)White Matte (3mm only)
Notes about Black Matte, White Matte & White Gloss
 Black Matte is available in .125" (3mm) thickness only. This color and material texture can be purchased without etching. For AllFightsticks models, you can use the black matte plexi panel as a full replacement for the metal panel.
 White Gloss and White Matte is available in .125" (3mm) thickness only. For AllFightsticks models, you can use the white matte plexi panel as a full replacement for the metal panel.
White acrylic is also semi translucent - about 80% opacity. You could place a brightly colored artwork underneath for a cool effect.
Layout Configuration
Each Fightstick has its own characteristics, with some sharing similar elements, such as the popular Vewlix button layout. We will specify what options are available for each Fightstick. Below are the most common button layout configurations:
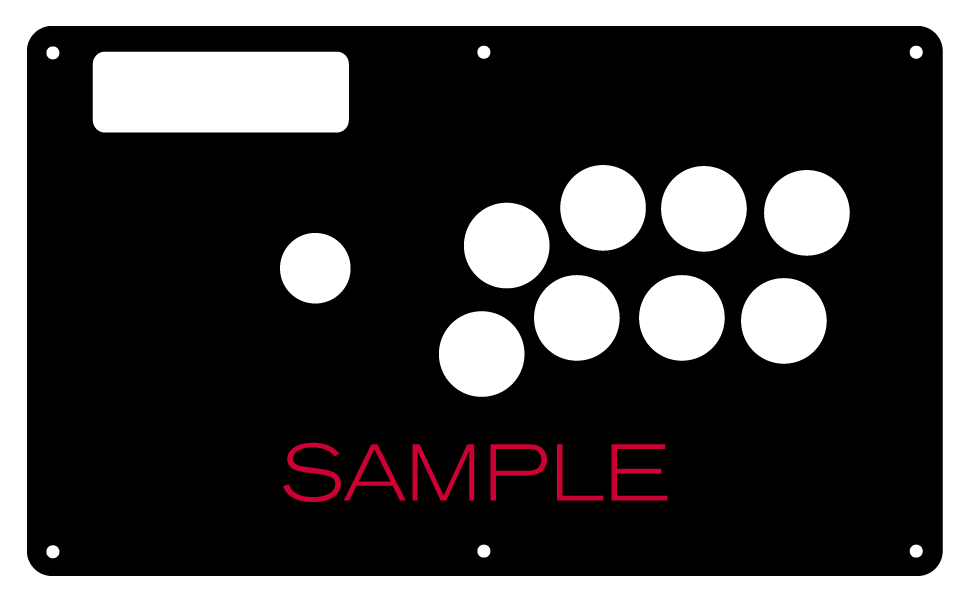
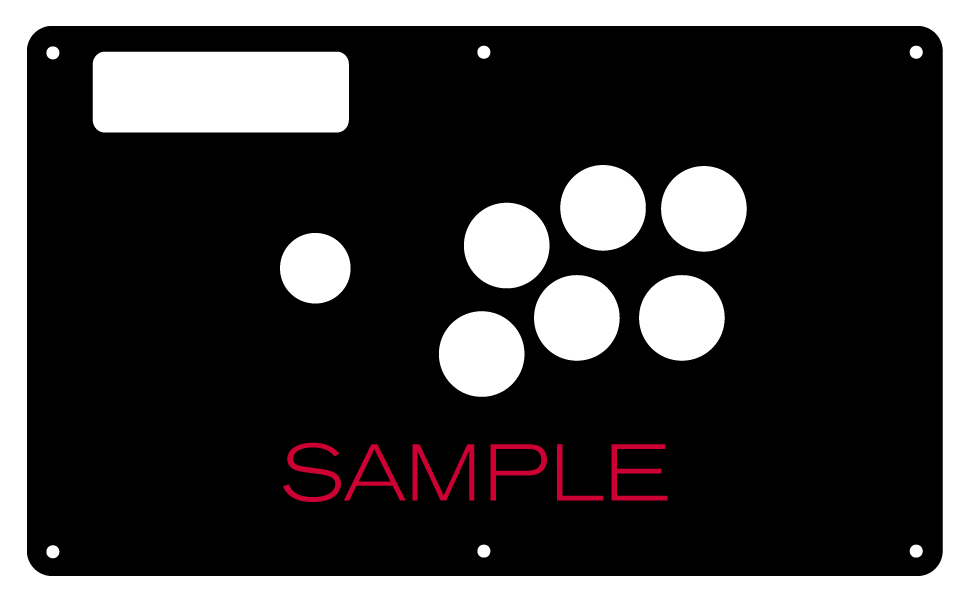
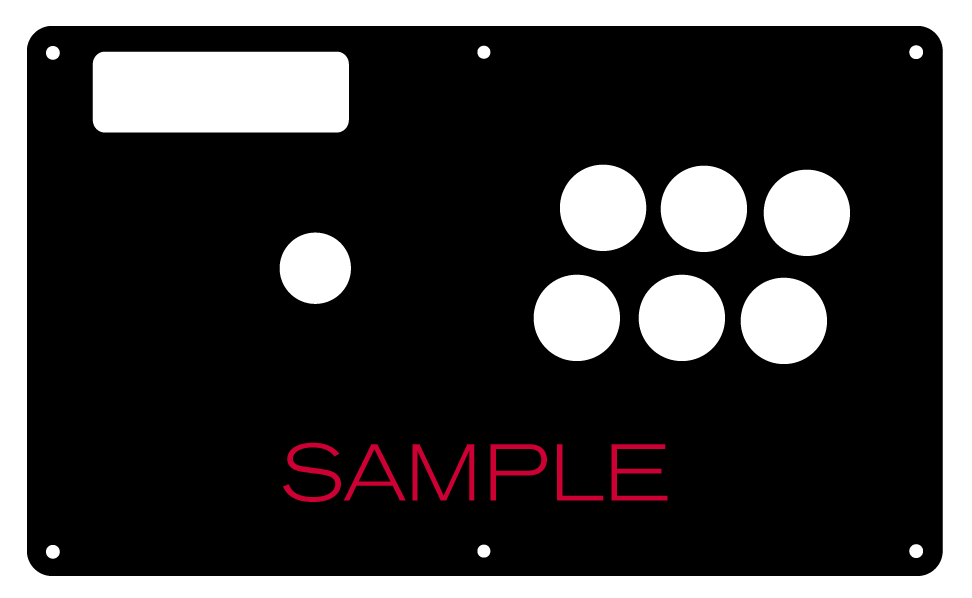
 8 Button VewlixFirst 6 ButtonsLast 6 Buttons7 Button Vewlix
Removing Default Elements
Some Fightsticks, such as the popular MadCatz TE, offer additional personalization options by removing default elements such as control panel, start button, or screws. Cut options are defaulted to their authentic counterpart, displayed as [YES (default)] in the options list. For example, a MadCatz TE, the default configuration is to have the turbo/guide portion of the control panel cut, so that the control panel can fit properly. You have the option to select [NO] to prevent cutting these areas.
![Cut Control Panel? [NO]](http://support.focusattack.com/attachments/token/ioB7e1jzIXfxKdM8KJPKKzvKD/?name=sample-8button-noturbo.png)
![Cut Start Buttons [NO]](http://support.focusattack.com/attachments/token/SWbsx5sVHYupnBQ5iuZH1S2HK/?name=sample-nostart.png)
![Cut Middle and/or Bottom Screws? [NO]](http://support.focusattack.com/attachments/token/QzFj5pc5cNNHkOKrzlEMcc0I4/?name=sample-8button-nomiddlescrew.png) Cut Control Panel? [NO]Cut Start Button? [NO]Cut Middle and/or Bottom Screws? [NO]
Cut Control Panel? [NO]Cut Start Button? [NO]Cut Middle and/or Bottom Screws? [NO]
Cut Control Panel? [NO] - If you own a MadCatz TE, and installed a PS360+, you may no longer need the Turbo/Guide area of the control panel, located at top left. This option allows you to remove the Turbo/Guide portion. Please note that you MUST remove the actual control panel on the TE by unscrewing it before applying the plexi, or you risk damaging the plexi. Also, please make certain to select this option if you are also choosing to have artwork printed, or the plexi and artwork won't match.
Cut Start Button? [NO] - On some joysticks - such as the Qanba Q4 - the start button is directly on the panel. You can select to have this removed. You can also select this should you desire a panel similar to the Eightarc Fusion or Synthesis series Fightstick, as the start button is moved elsewhere. Again, this option is available on specific joysticks.
Cut Middle and/or Bottom Screws? [NO] - Selecting "no" on this option allows you to remove the middle top and bottom screw holes on specific joysticks, either for a cleaner appearance or to avoid rubbing your wrist against the screw. Please reconsider this option if you intend to have a full panel etch on your plexi, as etching physically changes portions of the plexi due to heat. In this case, it is best to leave the screw holes in place in order to keep the panel securely positioned.
Image Edit If you would like to use a free, online Photoshop-like app to check out whether your artwork will work with a layout we offer, I highly recommend Photopea
This amazing app works with our PSD templates and is a great way to preview your artwork or create new art files. It also exports to PSD, which is the format we recommend for submitting artwork.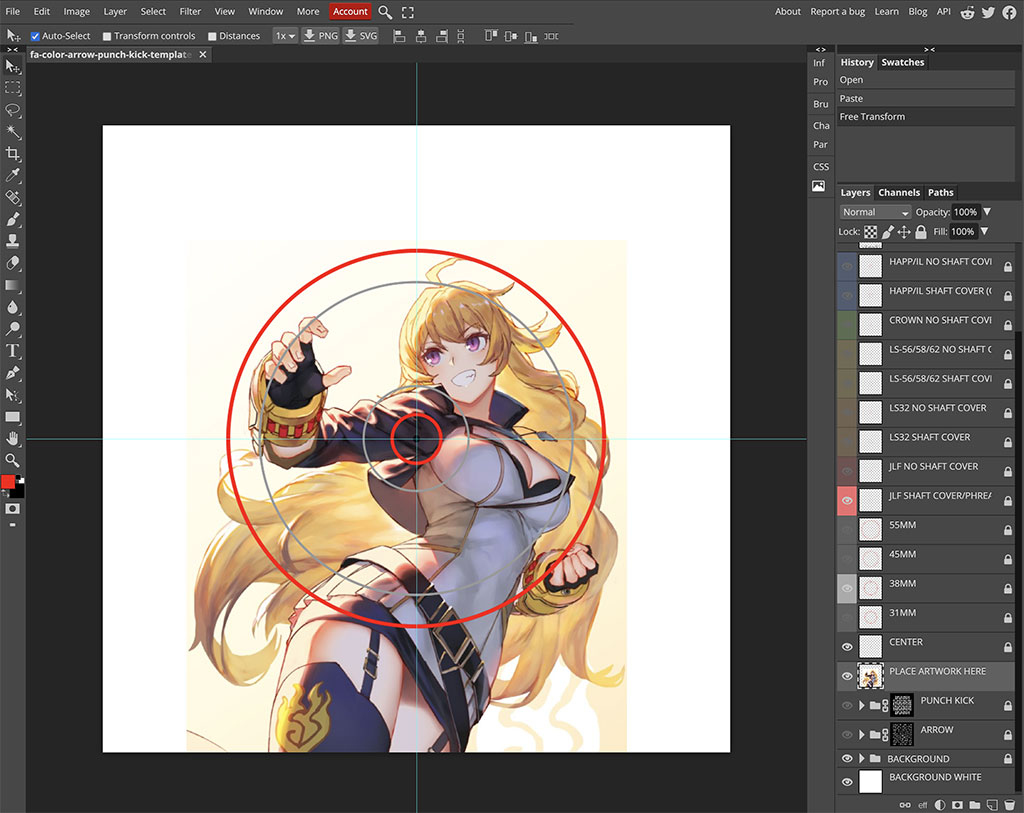
Support New to FA Plexworks?
Click the "Options" tab for a detailed explanation of each customization option available to you. Using a mobile device? Click here to scroll to the descriptions.
Artwork templates
We offer a photoshop template for each custom artwork or custom plexi etch. Click the "Description" tab (or scroll up if on mobile device) to display the template and download. You can also click here to access our repository and download artwork and etch templates (in Photoshop PSD format) for your desired model and others.
Important: Using templates outside of the ones we provide may produce unwanted output. We are not responsible for output generated from unsupported templates. More information here.
Warranty and Support for FA Plexworks Custom Order
Custom orders cannot be returned for refund, or exchanged for another custom order. Orders damaged upon arrival are subject to special terms within our return policy. Please see our FA Plexworks FAQ for more information about our Plexworks return policy and related Q&A.
If you have not used our Plexworks custom services before, we recommend that you visit our support section for updated information, helpful tips, and resources to get the best output.
Some useful sections to review before making your purchase (will open in new browser window or tab):
- Learn about our Custom Job Tracker to keep tabs on your custom order while staff processes it from start to finish.
- Save time getting answers by visiting our FAQ.
- Learn more about the personalization options available to you.
- Hire a skilled artist from the Fightstick Artists Network to visualize your idea.
- Handling the artwork yourself? Review our requirements and get tips to optimize your laser etch or artwork submission.
- Learn about additional products and services we offer under FA Plexworks.
- Project L Official Artwork: Do not submit the PNG samples. Instead, please download the zipped Photoshop PSD version, unzip the file and integrate them into our artwork templates
-
Product Reviews
-
Top left of Bends upwards.
From FA : Please consider loosening all the screws before tightening. The thin strip at top left is more prone to bend simply because the RAP N requires a thin plexi panel. It was not originally designed for swappable artwork.
--
as the title says the thin strip of plexi between the top left and top middle screw bends entirely upwards. Tried loosening and tightening the screws to no avail. googled the issue to try to find a solution and found various people mentioning the issue with this exact same cut for the RAP N with no solutions found unfortunately. Unknown on Aug 31st 2023 -
better than my old
Had one from another merchant and wasnt happy but this one is solid. The cut was very precise and is holding up to my few weeks of abuse. It doesnt move or shift etc. I dont care scratches cause thats gonna happen just by touching it, just like a guitars finish. so if you care about scratches buff them out every once in a while. regardless, my main purpose was to make a 6 button layout from the stock layout and its doing its job. I will better getting one for my DOA5 soon. 6bootywar on Feb 14th 2021
-
Nice piece of plastic, perfect fit for my HRAP N Hayabusa!
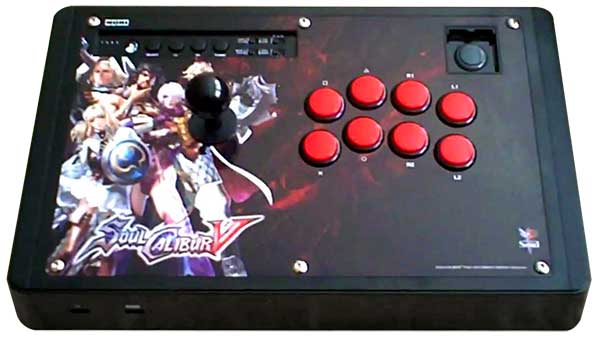
I like the original art in my Hori HRAP N Hayabusa so, like my Hori Soul Calibur V joystick, I ordered a plexi to preserve the original art.
The plexi fit perfectly and does not distort the appearance of my panel. You hardly notice it! You only thing you notice is that over time the plexi WILL get dirty and crud from your skin and sweat but that's the whole point -- the plexi gets the dirt but your original or custom art gets preserved. The plexi will preserve the value of the joystick AND make clean up easier.
This is the first plexi I ordered from Focus Attack and it arrived sooner than I expected in all honesty. I'm glad to see it's of at least equal quality to what I've experienced from another vendor and that it fit my stick's faceplate with no notable distortion. That's a HUGE thing for me! I've gotten plexis that were unfortunately distorted or didn't fit very or didn't cover completely. This plexi was cut well!
I imagine I will order more plexis in the near-future because I have 2 collectible joysticks I do want to preserve the original faceplates of. GC on Jan 24th 2021 -
Awesome
Very happy with how the product was fabricated. Packaging was well done to avoid creasing of paper. Unknown on Sep 24th 2020
-
After a week later 2 issues
So number one, the Plexi is pretty soft and easy scratch. Accidentally dropped my ball top while installing it and it left a very noticeable scratch in the Plexi... I have a couple of other scratches I have no idea where they came from. So basically you have to baby it.
And number two. Get the bottom screw. I don't know why but the bottom keeps lifting up. I push down and out before I tighten the corner screws. But still creeps up. Really wish I got the bottom screw. :/
Overall great a product. But definitely not perfect. Ted on Mar 14th 2020 -
Perfection
I ordered this along with artwork and it sits perfectly flush. Very happy with the quality and the ease to install. Highly recommend. Ted on Mar 2nd 2020
-
Perfect fit
It came exactly as ordered with all the details I entered. Perfect fit and good quality for my Hori. It holds up well under use and doesn’t scratch super easily which is nice. Easy to clean and the thickness is bang on, not to thin and not too thick. Really happy I got it done here! Unknown on Dec 4th 2019
-
It works
I have Hrap 4 hayabusa. This fits it perfectly. Unknown on Oct 21st 2019
-
Great product
Great product. On the top left, you should make sure to pull that corner tight before screwing it in. It fits really well. Remi on Jul 22nd 2019
-
Exactly what I expected.
Came pretty much perfect. The screw holes might have been off by the smallest amount but it looks perfect on my stick. I will be ordering again for my other stick soon. If I was a less patient person I would have likely dropped a star for the several week wait time. 4.9/5 Rory on Apr 14th 2018
-
-
Product Videos
-
 FA Plexworks Custom Fightstick Artwork ServicesThis video explains the many options available to you when cho...
FA Plexworks Custom Fightstick Artwork Services
This video explains the many options available to you when choosing custom FA Plexworks services at focusattack.com. We also cover important tips and references for properly uploading artwork when placing an order. Visit https://www.focusattack.com/customize/ to place an order for custom Fightstick artwork, a replacement acrylic top, or even laser etched design on acrylic. For additional information about FA Plexworks, download templates, and additional tips on how to submit artwork, visit our support portal http://bit.ly/fa-plexworks-support Big thanks to Naota for his pro-tier production! ** Artwork pictures are sample illustrations. All printed artwork is submitted by the user, and not sold directly on the website. -
-
Find Similar Products by Category