- Category
- What's New?
- FightSticks/Pads
- Joysticks
- Pushbuttons
- Spare Parts & Tools
- Hardware & PCB
- Electrical
- Customize
- Merchandise
- Sales & Clearance
- Brand


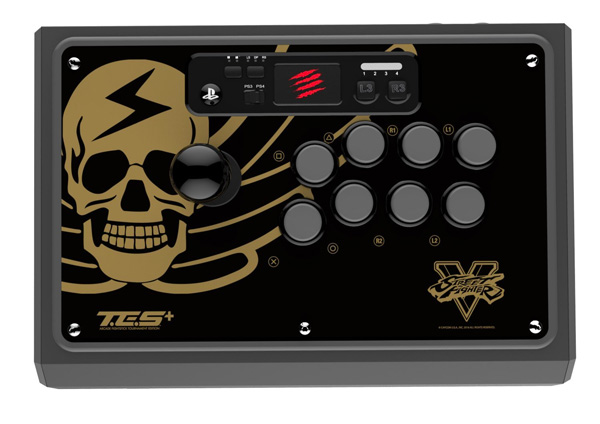
Madcatz TE/S USB Compartment/Door Replacement (24-N Style)
Sorry but this item is currently unavailable.
Please check back at a later stage.
Rating
Price:
$14.95 (USD)
Brand
SKU
BCADE-TEDOOR-N24
Weight
1.32 Ounces
Availability
Ships within 1-2 business days
Shipping
Calculated at checkout
Current Stock
We're sorry. This product is currently sold out.
-
Product Description
Those owning the original MadCatz Tournament Edition Fightstick have fond memories of this iconic controller - with exception to the cable door. Known for its weak plastic nubs used to hold the door in place, the TE's door would soon meet its fate in the trash bin, and many would simply fare without cable management. Buttercade - with integral assistance from Wei Louie - breathes new life into the aging TE with this unique 3D printed door and USB compartment replacement.
Expansion Ports
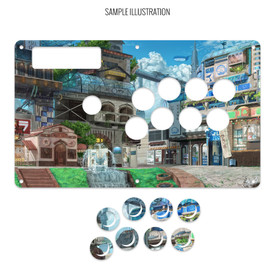
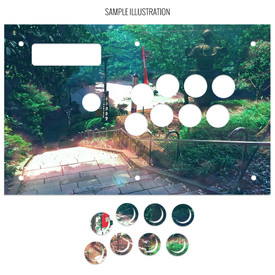
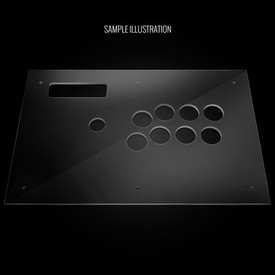
Buttercade's TE door replacement not only substitutes the MadCatz TE door, but adds up to four buttons and a Neutrik-style port. With the additional buttons, you could utilize functions present in modern control PCBs and consoles such as PS4 touch button. On this model, you receive spaces for four 24mm pushbuttons and one Neutrik port, perfect for installation of a Neutrik NAUSB-W-B A/B USB Feed-Through.
Compatibility
The Buttercade TE USB Compartment/Door Replacement was tested and confirmed compatible with the following models:
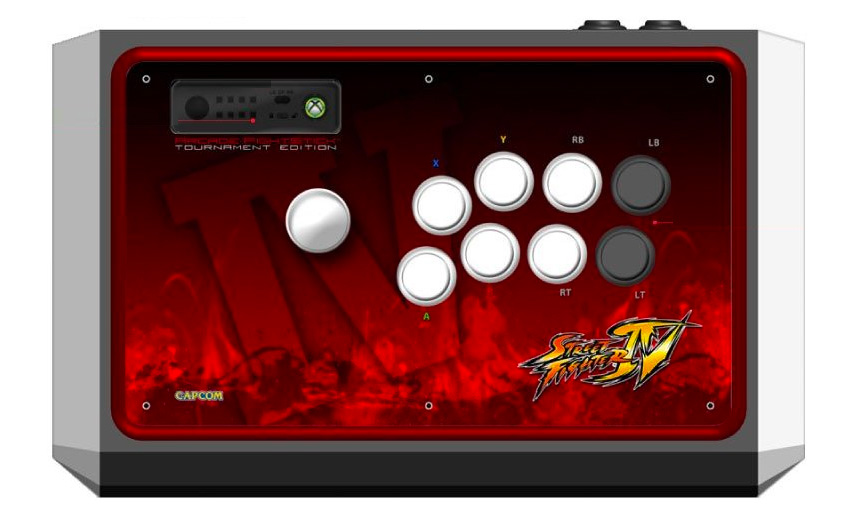
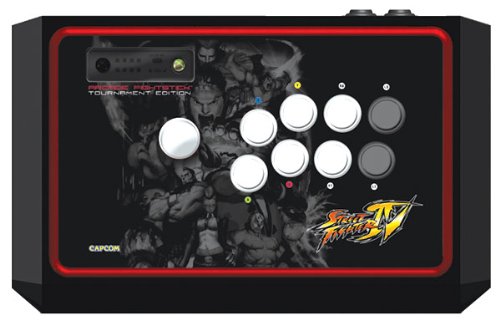
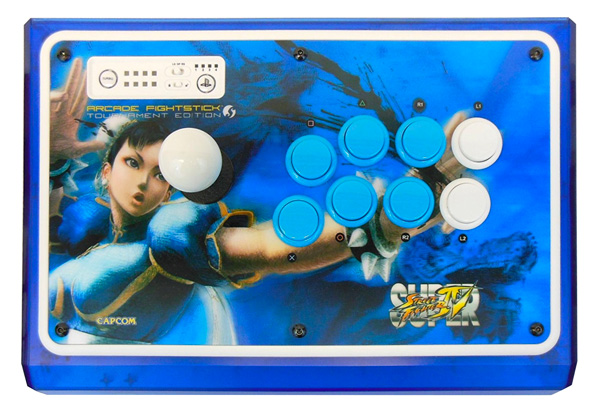
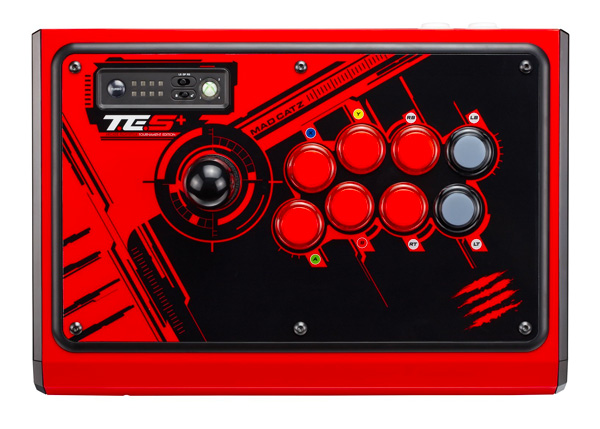

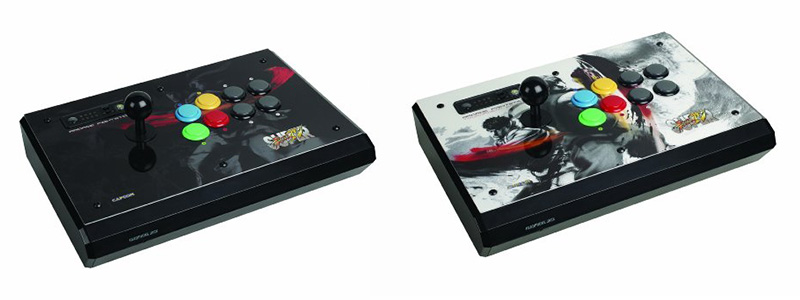
Madcatz TE Round 1 MadCatz TE Round 2 MadCatz TES Chun-Li MadCatz TE.S (XB360) MadCatz TE.S+ (PS4) MadCatz SCV (SOUL Edition) Madcatz TES Version 1 Installation
Please Note: Installation requires a complete teardown of the MadCatz TE. You will also no longer access the original control panel PCB often located at top left. This project is mainly for those looking to overhaul their aging TE with a new control PCB that makes use of a Neutrik port. It is recommended that you purchase a replacement plexi and custom artwork and choose "No" next to option "Cut Contol Panel?". There might be variations to removing the USB cable space in models such as the TES Shadaloo version for PS4, and you should be able to keep the CP functions of the Shadaloo model intact.


We want to have a bare shell to install the replacement door. We start with the TE top panel, removing six hex screws using a 3mm Long Arm Hex Key for MadCatz Tournament Edition Joystick. The goal here is to begin removing elements from the panel such as buttons and joystick lever (remove balltop first). With the screws unfastened, you can access these items, and the wiring connected to them. Remove the two screws that attach the plastic control panel to the frame. You may have to deal with a hard, red adhesive goo on each of the TE's inner screws, a method used to restrict tampering. A mini flat-head screwdriver to chip away at the goo, or brute force with a Phillips head screwsdriver is effective at working through most of the goo. 

Underneath the plastic control panel is a PCB board with JST connectors, once again held in by adhesive. You can pull these connectors out with effort. You will not use any of this wiring after installing the TE door, as the control panel will not reside on the board. We now move to the bottom of the TE to access the underside of the plastic frame. It is there that screws to the USB cable compartment reside. Remove the six screws around the bottom metal panel, including one hidden by a warranty seal. You do not need to remove the rubber feet by unscrewing; those do not affect your ability to dislodge the bottom panel. 

With the bottom metal panel undone, you will remove eleven (11) screws to separate the bottom plastic frame from the top. Again, you can chip away at the red goo to access the screws, or brute force the Phillips head screw in and start turning. With some effort, the screw will start to rotate despite the adhesive. With the screws removed, you can now remove the top and bottom plastic frames apart. Next, you will disconnect any remaining wires from the main board, or unscrew the boards entirely. Again, the TE door replacement serves as a pushbutton and neutrik expansion, allowing you to utilize a modern PCB such as Brook Universal Fighting Board. You will not need the wiring currently installed into the TE. 

We finally reach the USB cable compartment. Unscrew the two screws holding it to the bottom plastic frame to dislodge it. The USB cable can be cut with a pair of sharp scissors. Since you are going to use a control PCB with a pair of new USB AB cables and a Neutrik passthrough, you will no longer need it. 

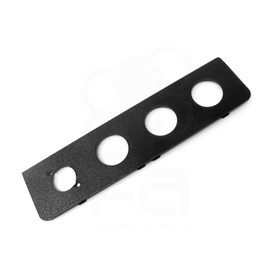
We are left with the bare bottom plastic frame, which housed the original TE door. We can now finally install the Buttercade TE/S USB Compartment/Door Replacement. Use the tabs on each side and bottom of the door to slide down between the plastic housing. The door should lay relatively flat against the housing. 
With the Buttercade TE door installed. You can begin rebuilding the TE back together, reversing most of the steps after your desired replacement PCB and wiring is in place, the Neutrik passthrough is attached, and additional 24mm buttons are connected. Congratulations! -
Product Reviews
-
Not flush with case
Comment by FA: Please consider the installation tabs when sliding in the product into the compartment.
---
Installation was simple and product did what it was designed and advertised to do. However, when closed, the panel flexes forward and isn’t flush with the case. If that doesn’t bother you, then this is a 5 star product.
Instead of using a permanent solution like glue I used a zip tie. I weaved the zip tie to a button that wasn’t mapped through the holes in the copper pin and tied it around a piece of plastic in the case. This looks silly as hell from the inside but makes the panel flush with the case and you can’t even tell it protruded or flexed outwards. Hooli on Jul 19th 2023 -
4/5 Stars for these reasons alone.
As with another review I read, I'm having the same experience with the top-right screw on the bottom panel not having a mounting point anymore since the cord compartment is getting deleted, keep in mind this is the same case for the turbo panel (which is addressed in the item description).
The biggest issue for me is the mounting tab towards the middle of the case. It looks to be modeled to slide onto one part of the case but runs into the second part of the case when mating the inner structure back to the outer structure. It's JUST a bit off and probably could be fixed with some sanding. Due to this kind of, collision, it causes the panel to flex towards the middle and not sit flush with the case. What I ended up doing was pushing on the middle of the panel, and using hot glue where the top edges meet. This fix was perfect, but on the upper right hand corner, you can still see where the TE case is getting pushed out.
Other than these minor alignment issues, the panel is fucking awesome. Simple, buttons mount snug in the holes and the Neutrik housing fits perfectly. No other complaints at all and would still recommend this product to my friends who can't keep the door on their TE intact. Chandler Chavez on Nov 4th 2022 -
One minor design flaw?
One design flaw that wasn't mentioned in the other review is that, once everything is put back together, the top-right screw at the bottom of the TE no longer has a place to screw in (in the TE, this screw-in spot is part of the compartment). I'm not sure how this would possibly be fixed, maybe a little perpendicular tab with a screw-in hole?
I'm just gonna tape up the loose corner as the other bottom screws aren't affected, and the product itself is great at what it's supposed to do. Like the other review said, this is great not only for future-proofing but also useful for when you want access to buttons like L3 and R3. Unknown on Jun 7th 2020 -
Pretty good
Overall I would say that this is a great product and a great addition to your TE for future proofing. I do have issues, but it might only be me and not with others.
1.) There is somewhat of a flex when putting it back together. It isn't completely straight. It's not a huge issue, but the photos make it look like there isn't one. Like I said, maybe I did something wrong.
2.) Use new buttons/screw in buttons or not very used ones. I saw that the buttons would kind push out a little. Not enough where the button is completely out, but enough where you'd want to push it back in. The 24mm buttons I used are pretty used and have been in and out of different cases so that is what probably cause this issue.
Still, I will give this a 5 star since others might not run into these issues. And honestly if I had a choice between a broken cable door or a minor flex, I'd take the flex any day of the week.
globe on May 26th 2020
-
-
Find Similar Products by Category